HOMEABOUT USSHOP HERECROPDATESCURRENT CHALLENGESTIPS&TUTORIALS

Monday, May 30, 2016

Kaisercraft Sea Breeze - A Friend is a gift layout and card set by Rachel Lowe:

Happy Monday everyone, hoping you all had a wonderful week end.

Today I am sharing a layout and card set created using Kaisercraft's Sea Breeze collection.

The photo I have used is of my mother taken last year in the wonderful gardens at a local restaurant. Sometimes I forget I actually have other family members I can scrap and not just my children!

I wanted to create a classic layout.

Of course I had to fussy cut the flowers from the Waterlilly paper and layered them, adding in leaves and using foam tape on the top flowers. I wanted the floral arrangement to cascade from the upper left corner. I hand punched a butterfly and attached with foam tape. I also added some enamel dots to the large flower centre, butterfly and the printed swirl.

I used the smaller floral paper to create a border frame. As you can see I have sewn in a messy fashion around the frame.

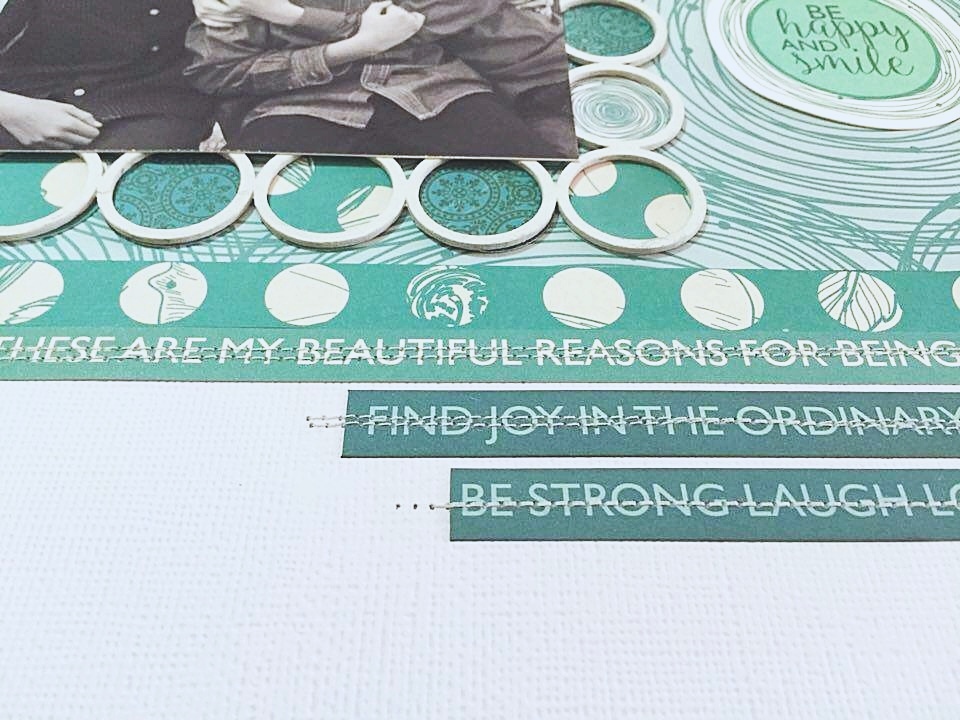
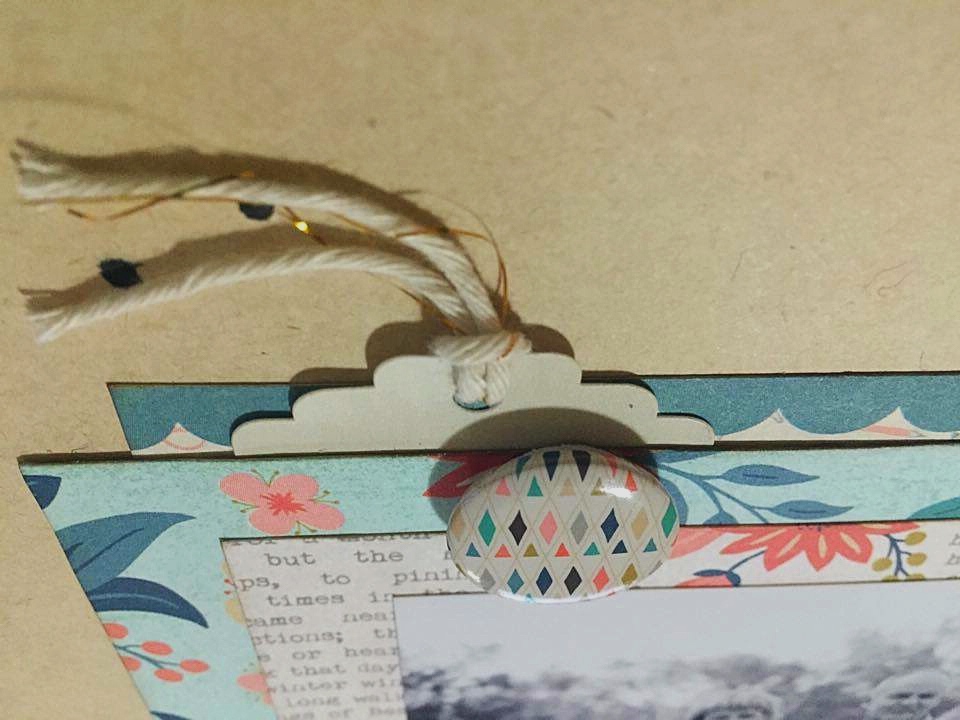
I chose the journal card that had the sentiment I wanted to go with the photo of my mother. I then set about adding layers around my photo using the tag die cuts, stickers and paper strip. I then sewed in a messy fashion around the photo.


Here are some close up photos.
Here I have foam taped the fussy cut flowers and butterfly.


I have sewn on each of the leaves to add more texture.


I have added pearls to emphasis the printed swirls and added a larger one in the centre of the largest flower.


I have continued with sewing in a random manner around my photo matt ad tags.


This collection is perfect to create cards and I just couldn't throw out the gorgeous left overs from the layouts.


I have used a 2Crafty butterfly frame on this card which goes perfectly with the floral/vintage theme of this card.


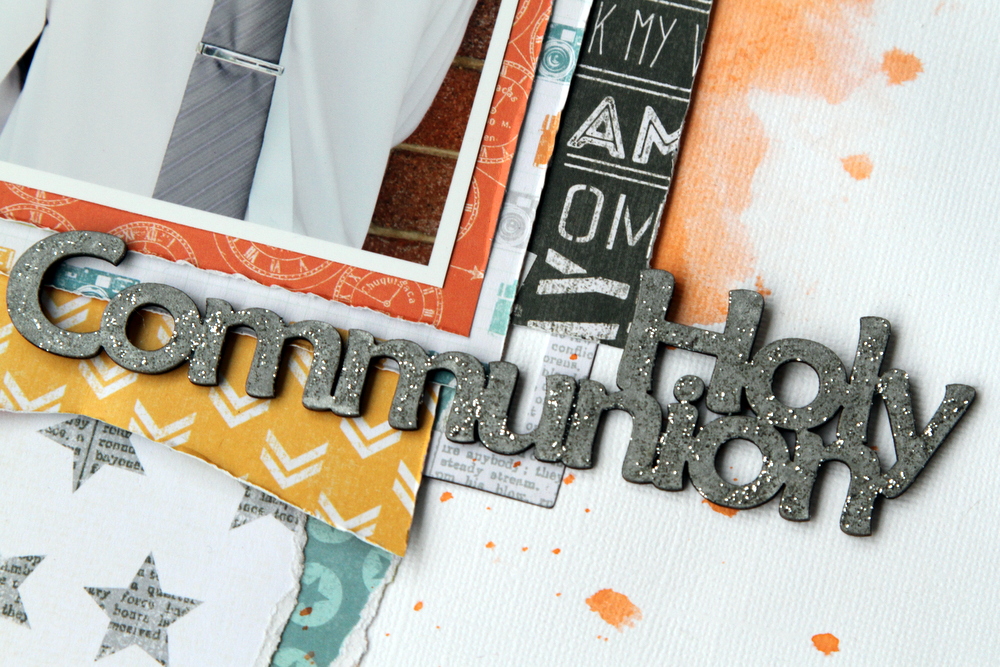
The green flower die cut contrasts beautifully against the script word paper. I have foam taped the flower die cut, hand punched a butterfly from black bazzill and added a green word sentiment die cut. To finish off I have sewn around the edge, on the butterfly and word sentiment. I wanted to create a 'modern' look.


The circle sentiment die cuts are great for cards, layer them on contrasting paper and add some sewing and you have a quick and easy handmade card and everyone loves receiving a handmade card!


Well that is the last of my paper creations using KC Sea Breeze. 
I hope you have liked them as much as I did creating them.
See you next week with a new collection to showcase.
Stay safe and keep warm.
X
KC Sea Breeze - Collectables Die Cuts
KC Sea Breeze - Raindrop Paper
KC Sea Breeze - Refresh Paper
KC Sea Breeze - Sea Paper
KC Sea Breeze - Splash Paper
KC Sea Breeze - Waterfall Paper
KC Sea Breeze - Waterlilly Paper
KC Sea Breeze - Whirlpool Paper
KC Sea Breeze - Lake Paper
KC Sea Breeze - Sticker Sheet
Bazzill Cardstock - Raven
Bazzill Cardstock - White
2Crafty Chipboard - Butterfly Frames
Photobucket

Friday, May 27, 2016

Life is Amazing
by Tammy Klingner

Hi Everyone
 
Today I'm sharing a layout created using up what I had left from Simple Stories Life in Color range.
I love this range. I love it for both creating layouts and for keeping up with Project Life.
So versatile.
 
I'll start with my layout.
 
 
My background paper is one I had left from Basic Grey's Barista Range.
I ran a strip of paper down one side, and then swiped gesso in a messy, random style atop this strip and across the centre of the page. 
I then swiped some black paint in random spots, and applied a few flicks too.
I began layering up with other papers, and added a few embellishments from the sticker sheets and also some of the chipboard frames I love.


I then added some 2Crafty chipboard, painting them black.
I cut out my title from a patterned paper (love this).
 

At this stage, my layout was predominantly black and yellow. I felt it needed a lift, so added a few pieces of red, with embellishments and torn strips of washi tape.
The red really lifted the layout.
 

To finish it off I added my journaling.  I encourage you all to journal on your pages.
Often this is the part we leave out, but really, words are crucial to telling your stories. 
Photos and embellishments can only tell so much.
Your words give your layout depth.
Your words make it personal.
Your words give it meaning and emotion.
 
I also created a Project Life Spread using up this range.
Here it is:
 
 
Here's the left side:
 
 
And the right:
 
 
As I said, this range tells our everyday stories so well!!
I could use this range over and over.
 
And just to prove it - I quickly put together a card......
 
 
Products used:
Simple Stories Life in Color Big Memories Paper
Simple Stories Life in Color 3x4 Journaling Card Elements
Simple Stories Life in Color 4x6 Horizontal Journal Cards
Simple Stories Life in Color 4x6 Sticker Sheets
Simple Stories Life in Color Fundamentals Cardstock Stickers
Simple Stories Life in Color Expressions Cardstock Stickers
  Simple Stories Carpe Diem Chipboard Frames
Simple Stories Carpe Diem Make it Happen Paper
Bella Boulevard Just Add Color - Speak Freely Paper
Photo Play Like a Girl Share Your Sparkle Paper
Basic Grey B Side Fold Over Photo Frames
Basic Grey Barista Hot Chocolate Paper
2Crafty Chipboard - Chevron Bits
Dylusions Paint - Black Marble
White Gesso
Washi Tape
 
Photobucket

Wednesday, May 25, 2016

Crate Paper Hello Love - Grandkids by Fiona Johnstone

Hello everyone

Popping in today to share my recent class layout for All About Scrapbooks monthly crop day. I've used Crate Paper's Hello Love collection to create a layout suitable for Mothers Day. 


Lot of pinks in this collection, so I have used the black to create contrast and painted over a heart mask to soften the background. I've then layered up several of the papers and interspersed this with several doilies before finishing of the layout with some Green Tara flowers & leaves. 

My title has been inked in alternate pinks to tie in with the rest of the page. 

Thanks for stopping by
Fiona
x


Photobucket
Crate Paper Hello Love Paper -  Be Mine
Crate Paper Hello Love Paper -  Smitten
Crate Paper Hello Love Paper -  You & Me
Crate Paper Hello Love Paper - Valentine
Crate Paper Hello Love Paper -  Cupid
Doilies
Green Tara Flowers - Apple Blossoms Pink
Green Tara Flowers - Cherry Blossoms Tones White
Green Tara  skeleton leaves
2Crafty Chipboard Custom Title

Monday, May 23, 2016

Kaisercraft Sea Breeze
These Are My Beautiful Reasons
For Being Happy
by Rachel Lowe

Hello my fellow scrappers!


This week I have another layout using the fab Kaisercraft Sea Breeze collection.
One look at the colours in this collection and I was hooked.

 
My previous layout was rustic with floral accents so this week I set myself the challenge
 of creating a  more masculine layout.  I love this photo of my three boys, it is sweet but
 has a touch of loving mischief.


 The 2Crafty chipboard Circular panel inspired my layout. I painted it in white and set aside to dry. 
I knew I wanted to paper piece behind the individual circles. I then chose the green papers 
from the collection to keep it monochromatic.

 
I then used a 1 inch punch and randomly punched from the various green hue papers and as you will see I have placed them behind the panel. I wanted to tie in the circular theme and I think the circular panel has really ended up being the main feature of this layout.

 
I have chose two circular die cuts that resinated with me (there are many of these in the die cut pack to chose from) and attached them to the centre of the circular patterns of the paper.
To add some definition to the body of the layout I cut two 1/2 inch strips from the dot paper and attached to the top and bottom.


I had thought of adding some random splashes of colour shine but them decided I would
 keep it crisp and clean looking.


I finished this layout off with adding a heart sticker (attached with foam tape) and then chose word sentiments from the die cut pack. You will note I have sewn them down to add some texture and interest.


I could have added more as there is plenty of embellishments in the die cut pack and sticker
 sheet but I loved the negative space and how visually eye catching the layout was 
without 'over' embellishing.


Thank you for stopping by today and next week I will have another layout and using up
 the left overs a card set using this collection.

 
Have a happy and safe week.

 
2Crafty Circular Panel
KC Sea Breeze - Collectables Die Cuts
KC Sea Breeze - Raindrop Paper
KC Sea Breeze - Sea Paper
KC Sea Breeze - Waterlilly Paper
KC Sea Breeze - Sticker Sheet
Bazzill White Cradstock


Photobucket

Friday, May 20, 2016

Yes!! to Adventure

Hi Everyone.
 
Today I thought I'd try something a little different.......scrap a page/layout without a photo! 
Eeek! This is a big challenge for me because I'm all about the photos, oh and yeah, the words, I'm all about the words too.
 
A little while ago, I ordered some 12x12 overlay transparencies from All About Scrapbooks
I knew I wanted to do something a little different......
but it had just sat in the 'to do' pile (or should I call it the 'going around in my head' pile).
 
So today's the day.....
 
 
Yep, I've scrapped straight onto the overlay......it's my actual layout. 
I thought the clear would look awesome in my scrap album - add some real interest and a fun element.
 
I was pretty happy with how it turned out.  I added some white gesso and black paint flicks to help bring out the transparency - clear look.
 
 
I am currently in the process of planning an overseas trip!!
How exciting!!
 
It's been on the itinerary for a long time, however, there's been a few hurdles to overcome to get to this point.  But now it's all excitement and dreaming and planning (oh yeah and a bit of happy dancin thrown in too!!) - somehow the uncertainty and hurdles have actually made it even more exciting!!  Isn't that life in general?
Makes me think of all my favourite quotes
"You've gotta have both sunshine and rain to have a rainbow"
"If it weren't for the darkness, we wouldn't see the stars"
 
Anyway, I've transgressed!!
Back to my layout.
 
I love the 2Crafty Chipboard on there - and how it's highlighted Point A and Point B.
I also added lots of arrow chipboards, and words.
I cut out a tag shape to put my title on, and finished it off with a few strips of washi tape.
 
 
This is the layout, photo taken on a white background.
 
 
 I love how the gold is really bold, and draws your eye in.
 
So who's gonna join in the challenge, and scrap a layout with no photo.  I'm sure there's stacks of life moments that you forgot to capture on camera.....but you can still scrap the memory!
 
See you next week.
Love Tam
xxx
 
Products used:
Pink Paislee Atlas Gold Foiled Acetate - Worldwide
2Crafty Messy Frames 6"
2Crafty Mini Fast Forward Arrows
2Crafty Mini Word Set 2
Simple Stories Life in Color Expressions Cardstock Stickers
Simple Stories Life in Color Sticker Sheets 4x6"
 Simple Stories Carpe Diem Icon Stickers
Dylusions Paint - Black Marble
Photo Play Like a Girl Alpha Stickers
 Crate Paper Confetti Everyday Phrase Stickers
White Gesso
Thread
 
Photobucket

Wednesday, May 18, 2016

Cocoa Vanilla Totally Rad - Holy Communion by Fiona Johnstone

Hello all

Today I have a final share with Cocoa Vanilla's Totally Rad collection. I have loved this collection, in case you didn't notice!

Holy Communion
For this layout I layered several different patterns of the paper vertically along the left in varying widths, adding a couple of pieces to the right hand side for balance. I added some Dylusions Ink spray to the white cardstock to bring in a little more orange, to tone in with my photo and the orange brick wall. 

Some close ups:

I've utilised the brilliant embellishments that Cocoa Vanilla Studio have, the frames in the ephemera pack, large wood veneer star from the Wood Veneer Shapes packet and a mix of small stars that are part of the bits & pieces pack - which is my absolute favourite, as it includes a bit of everything!


I've finished off my layout with the title which I have inked and added some stickles too to bring in the silver from Zane's tie and to co-ordinate with the stars. 


Thanks for stopping by, I hope I have inspired you to check out this amazing collection!
Till next week

Fiona
x
Photobucket
Products Used:
Cocoa Vanilla Totally Rad paper - Mixed Tape
Cocoa Vanilla Totally Rad paper - Stellar
Cocoa Vanilla Totally Rad paper - Say What
Cocoa Vanilla Totally Rad paper - Top Gear
Cocoa Vanilla Totally Rad paper - Happy Snaps
Cocoa Vanilla Totally Rad paper - Line Up
Cocoa Vanilla Totally Rad - Wood Veneer Shapes
Cocoa Vanilla Totally Rad - Totally Rad Bits & Pieces
Cocoa Vanilla Totally Rad -  Totally Rad Woodies
Cocoa Vanilla Totally Rad - Die Cut Ephemera
2Crafty Chipboard Title
Dylusions Ink Spray Squeezed Orange
White Cardstock
Stickles

Tuesday, May 17, 2016

Basic Grey - Best Day Ever by Rachel Lowe:

Hello everyone, I hope you are having a fantastic day.

Here is another layout using Basic Grey using the Typeset and Dear Heart Collections.
Again I have used a mixture of both to create this layout.


Trying to achieve a family photo where all are actually looking at the camera is something I have never achieved and hence why once a year I use a professional photographer. I only ever ask for one poised shot as I prefer more natural looking photos.


I have used Kraft as my background paper as I need a contrast as I was using numerous patterned pieces.  I randomly splashed sparingly Colour Shine Spritz Black (lower right corner diagonally to top left corner).


I have then created many layers of paper pieces, border strips, tag and journal card (I left an opening to place my journalling card).


I have foam taped the chipboard typewriter (which I added foam tape to create a 3D effect and to enable me place slightly over my photo) and 'unforgettable' arrow.


I have used several of the flair buttons on this layout to add more layers and interest (and also because I am a fan of them!).


I have inked the 2Crafty Chipboard word 'Best Day Ever' in black and then used dimensional magic to add a shine to my title. I finished off by adding some black enamel dots around the chipboard title. I love how it contrasts against the kraft paper.


Here you will see that you can hide your journalling by placing it under a paper piece. I would prefer hidden journalling as I am not at one (yet) with my writing.


Lots of layering happening here.


Thanks for stopping by for a look and below is a list of the products you will need to create this layout. 
Have a wonderful week.
See you again soon.

BG Typeset Paper - drop cap
BG Typeset Paper - Foundry
BG Dear Heart Paper - journaling-cards
BG Typeset Chipboard
BG Typeset Flairs
kraft woodgrain
2Crafty Chipboard - Best Day Ever
Heidi Swapp Color Shine - spritz black
Photobucket

Monday, May 16, 2016

Bella BLVD - Hush Little Baby Layout and card set by Rachel Lowe:

Happy Monday everyone, Rachel here again and this week I have a layout and card set using the oh so cute Bella BLVD Sweet Baby Girl collection.


This photo is of my daughter leaving hospital in her 'going home' outfit (a very cute pink Peter Rabbit outfit with floral detail), in keeping with her outfit I decided to create a 'floral' layout.
I used a flower punch to create the larger lavender flower, layering and using foam tape to give it more height.


I then picked out the flower die cuts , as you will see I have sewn the stems of the three flower die cuts, this added more texture to the layout and it assists in drawing your eye to the feature.
I am sure you have noticed the new trend of paper fringes, I love them and again I have used it on my layout. They are easy to make, on this layout I cut a 1 inch strip, on the reverse I drew a line in pencil in the centre and then cut to this line all the way along. This ensures your fringe is even, you can of course create any sized fringe or create a border with multiple paper fringes.


I have foam taped the die cut word 'love' and the adorable hedgehog.
I them chose the stickers that were relevant to this memory/photo.
I finished this layout with randomly adding some enamel dots.


Sewn stems create texture and visual interest.


This border has multiple layers and finished off with a hand punched flower.


All elements here are foam taped and finished off with enamel dots.


As I used white as my background on both layouts created using this collection I had lots of die cuts, stickers and paper left over and I so I created some cards and two small gift tags. I love having a 'card' box with ready made cards for any occasion and it is budget friendly.


Here are some close up photos.


Here you will see I have used the 2Crafty heart clumps chipboard which I painted in white. How cute does it look on this card!


I love to sew on cards as it adds more texture and visual interest.


I have foam taped the die cuts to create a 3D effect.


I created a double paper fringe on the below card.
I have also added enamel dots to further add visual interest.


Gift tags are a great way to use up your left overs and add a personal touch to your gift wrapping.


This collection is just lovely (there is also a boy version) for layouts, cards or even a mini album.
Thank you for stopping by and next week I have a boy themed layout using Kaisercraft Sea Breeze with a 2Crafty feature.


Have a happy and safe week.


Borders Paper
Daily Details Paper
Just A Wink Paper
Mrs Teddy Paper
Pretty As A Posie Paper
She Stole My Heart Paper
Sweet Safari Paper
Die Cut Pack
Treasure Text Sticker Sheet
White Cardstock
2Crafty Heart Clumps
Bazzill White Cardstock


Photobucket